How To Take Better Safari Photos

If you’re thinking about going on safari there are many ways you can improve your photography by adopting some really simple techniques. In this video I’d like to try and help you take the best photos possible while on your trip of a lifetime safari.
So you’ve finally gone and booked that one in a life time safari trip, you’re going to need some basic tips for taking better photos.
The first tip is really an easy one to do and anyone can do this.
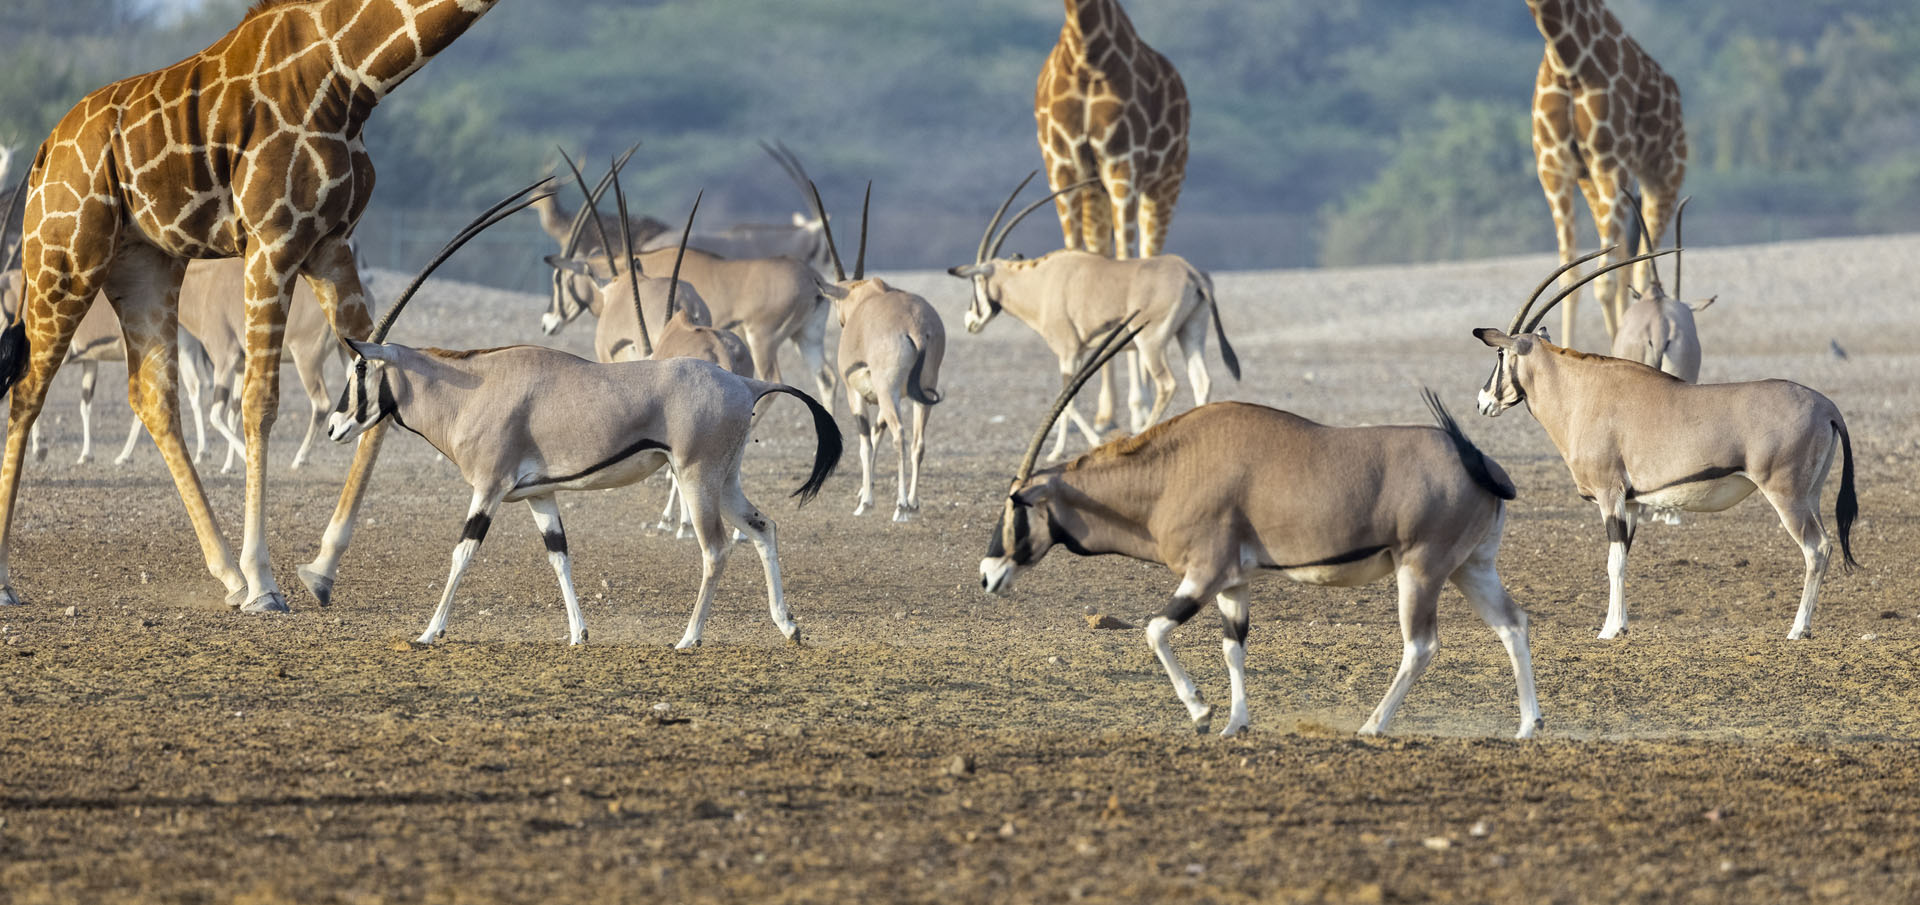
It’s basically positioning yourself so you’re lower to your subject. Lower yourself to eye level if possible, this way your photos will look far more immersive and also, your backgrounds will start to look much better allowing for greater subject separation. If you’re specifically going on safari to take photos this should be a priority, so try to book a vehicle that has been modified for maximum flexibility for photography. This will typically mean booking a vehicle with the windscreen removed, along with the doors and roof. This will allow for far more visibility and also for more places to position your camera.
Another great tip for better safari photos is using natural light around you. Safari game drives can last all day long that means getting up at around 5am and returning back to the lodge at around 7pm. The best times of day for safari is sunrise and sunset, so use these times to your advantage.
Only book morning and afternoon drives to avoid being out all day long. It can be extremely tiring and you’d be better off taking an early afternoon nap ready for the next game drive. Generally, wildlife is more active during these particular times of the day and as the sun is lower, your photos will definitely benefit when avoiding that harsh mid day sun.
Also, if your viewing position isn’t quite right you can ask the driver or guide to move the vehicle to a better position, and avoid using flash photography as this can startle wildlife, especially if they are close tot the vehicle.
The next tip is more about the type of gear you’re planning on taking with you.
Take a telephoto zoom lens up to at least 400mm for wildlife that is much further away from the vehicle. Use APS-C or micro four thirds cameras for extra reach compared to full frame, but be aware of the differences. There is a small compromise over full frame and crop sensor cameras. You can find more information about this in my other video about what type of lens to take on safari.
You could also make use of teleconverters to get that extra reach without having to spend extortionate amounts of money on long focal length lenses. Again, this is explained in more detail in this video. Also, remember to take spare batteries or even a power bank if your camera has a USB-C power delivery port. You could even plug the camera straight in to the usb port of vehicle so make sure you have usb cables packed for the day. There may even be plug sockets within the vehicle depending on the type so you could possible charge your batteries in the car throughout the day. Just remember to take the battery charger.
This one is slightly more technical but it will help you to avoid too many blurry images. Set up custom shooting modes for different situations. Set one with a minimum shutter speed of around 1/500s to minimise blurry images. Also, set your camera to shoot in burst mode or high speed mode. Again, by shooting at a higher frame will help to minimise blurred images. Within this customised shooting mode try and make as much use of the camera and lens image stabilisation settings. Not all cameras and lenses have these but if they do make sure to have them turned on. Watch my video on setting up custom shooting modes here.
Another tip which is slightly less technical, especially for lenses without optical stabilisation built in, is to use your arm as a natural support for the camera and lens, and make sure your hand is placed under the lens and not over the top. I see this all the time with amateur and inexperienced photographers. You will have way more support and less camera shake by simply holding the camera and lens in a more stable way.
Use a bean bag or mini tripod for support or find something to rest on, while within your safari vehicle, to reduce camera shake. Also, ask the driver to turn the engine off while viewing wildlife, as this can also have an impact on your photography.
A simple tip to look after your expensive gear is avoid changing lenses while in the vehicle because of dust and debris. Most safari locations may be hot and dry during the high season, so there will be a lot of dust in the air. Also, your vehicle will most likely have an open top and open sides, so you’ll be probably be covered in dust.
As I mentioned earlier it’s best to use a telephoto zoom lens up to at least 400mm focal range. This could mean missing shots of animals that may approach the vehicle. Therefore, try and have another smaller less expensive camera handy or even just use your smartphone for close up shots of wildlife and for wider shots of landscapes and selfies.
If you do decide to take more than one lens for your DSLR or mirrorless camera then minimise sensor and lens dust while changing lenses by covering the camera and lens as quickly as possible with your dust caps and try and hold the camera down to avoid dust from floating on to the sensor.
Another simple tip is to always use a camera strap on your expensive equipment to avoid dropping or even losing your gear. Items can easily fall out of a moving vehicle, and before you’ve even noticed, something may have gone missing and there will be practically zero chance of ever finding it again. You can also use the strap to help support the camera for more stable shots, especially while shooting video.
Another more technical tip is to check your camera settings regularly to make sure you’re in the right shooting mode and have a sufficient shutter speed.
Don’t fight the ISO to compensate for shutter speed – noisy images will always be better than blurry ones. Use your custom shooting mode to help maintain a fast shutter speed and then change shooting modes for different situations. I know it sounds complicated but after a day of shooting with this type of technique it will become second nature. Also, before your trip study the exposure triangle for better camera control.
Another great tip is to check your composition, and in particular your backgrounds. Try to re-position your self for plain or neutral backdrops to allow for better subject separation. It can be difficult while inside a vehicle, especially with other people around you but small movements left or right can make a huge difference to the final photo.
Another tip is to make sure as much action is captured as possible by using an action camera or an Insta 360 camera for immersive super wide angle footage. These can be mounted to the top, front or back of the vehicle to capture amazing footage that would otherwise be missed. They are also great for taking that quick selfie shot for when elephants or lions approach the vehicle.
On occasions I use my smartphone mounted on the hot-shoe of the camera so I can get close up photos and video with the camera and then wider shots from the same view using the smartphone camera. That’s a great way to avoid missing those amazing moments when animals have surrounded the safari vehicle, without having to put the camera gear down.
Lastly my final tip is to try and protect your gear. Use the hood on the lens to keep dust away from the front element. They will also help protect the lens from any potential scrapes or scratches. Put the camera and lens in to a bag when not in use as this will help minimise the amount of dust potentially affecting the lens barrel. Also, consider a camouflaged lens coat for extra protection. Use an air blower to remove dust from the front of the lens and also from the cameras image sensor, if you start to notice dust spots on your photos.
Also, take cleaning swabs, cleaning fluid, alcohol lens wipes and optical cleaning brushes and micro fibre cloths. Having these will help maintain your camera gear to a decent working condition and may help to improve your photos, minimising the amount of dust spots that may appear.


